BoC Altar
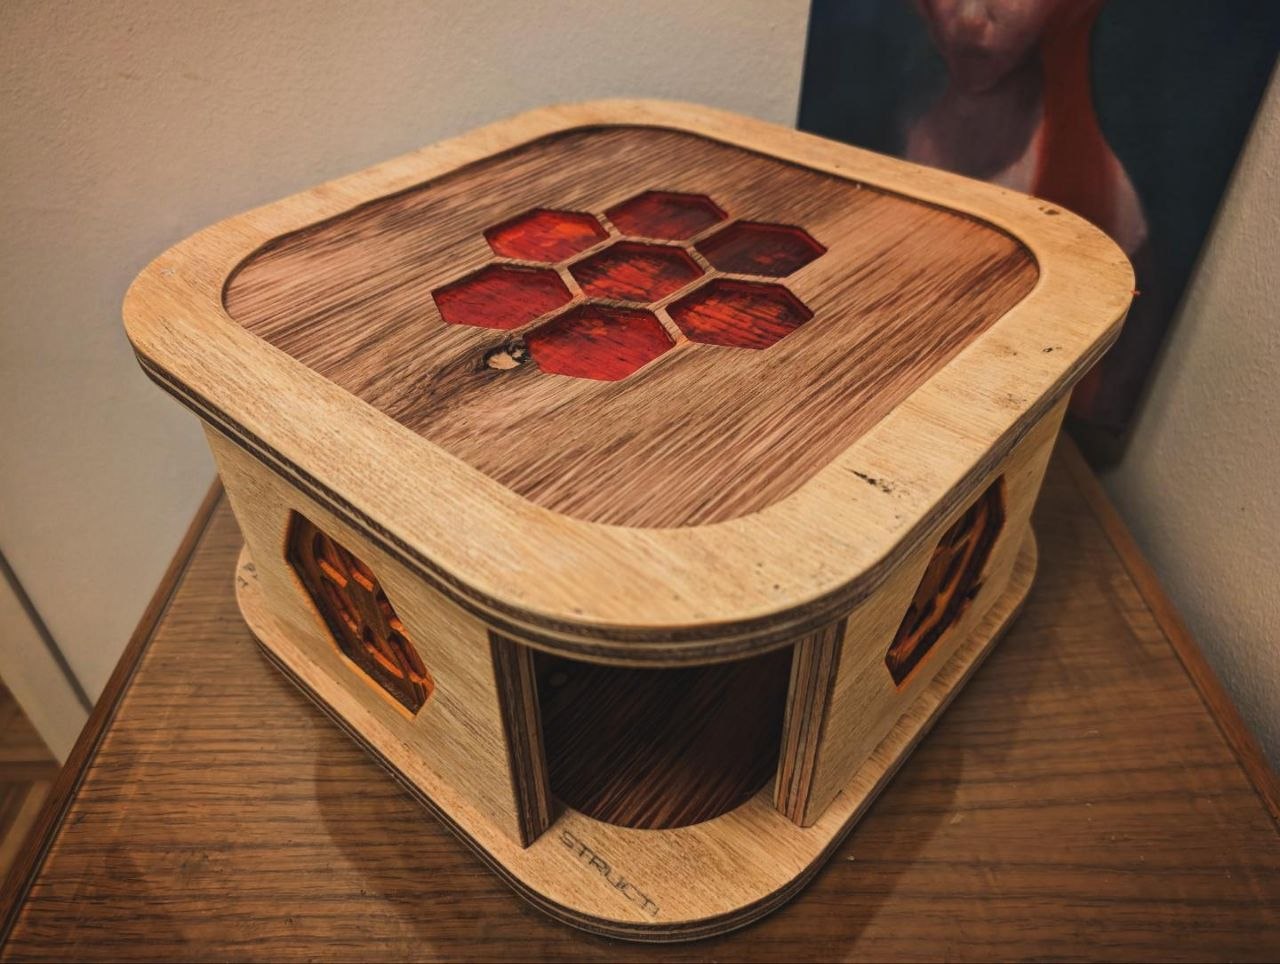
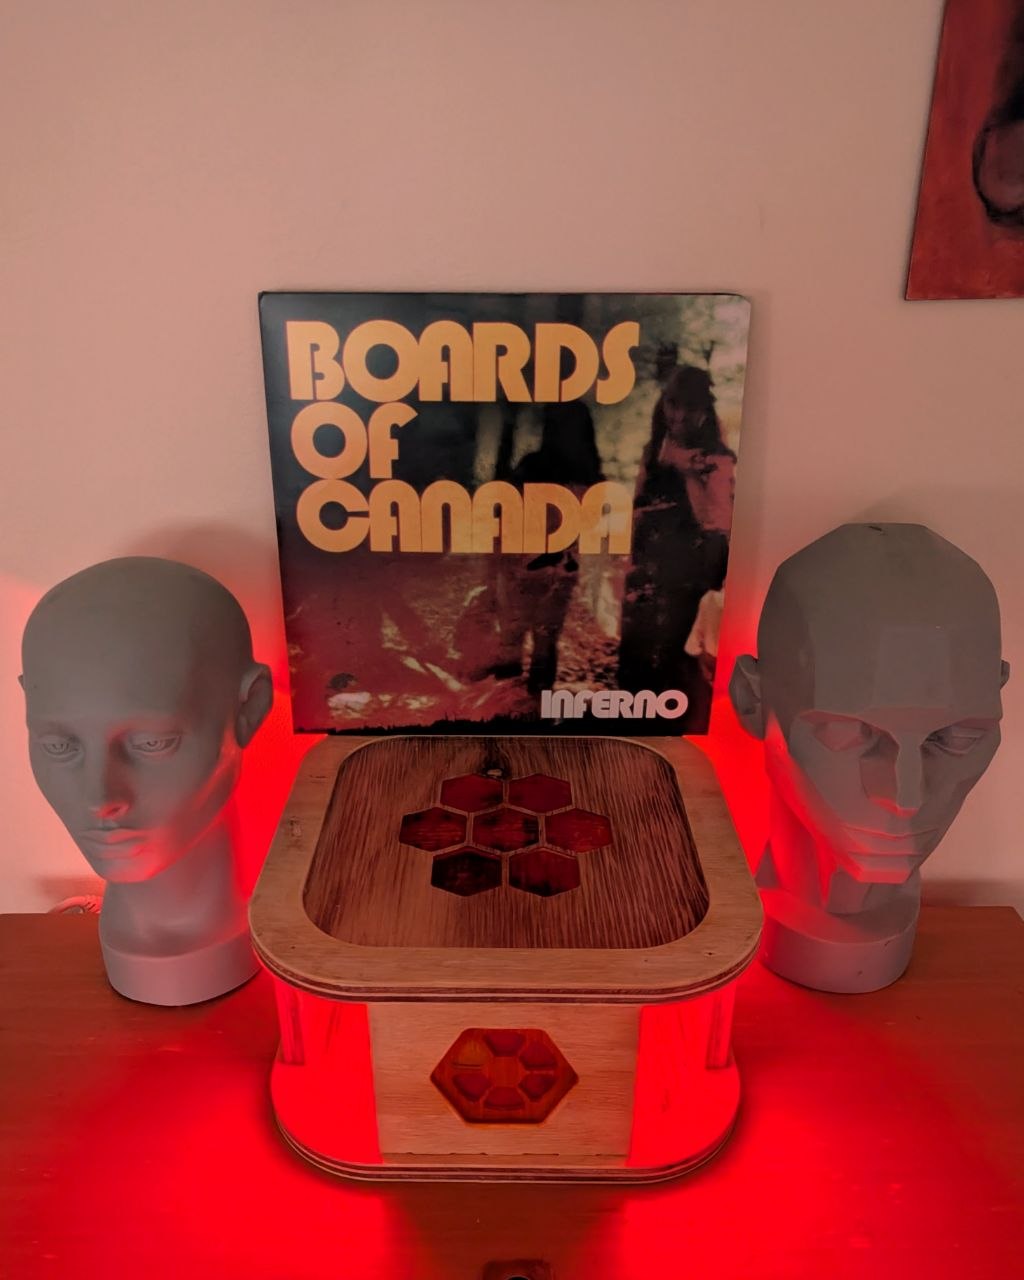
For my CnC milling assignment in Aalto's Digital Fabrication course I decided to build a little "altar" for one of my favourite bands Boards of Canada. They were coming out with a new release (first one in 13 years). I wanted to see how well embedding patterns (with their aesthetic) into wood would work out.
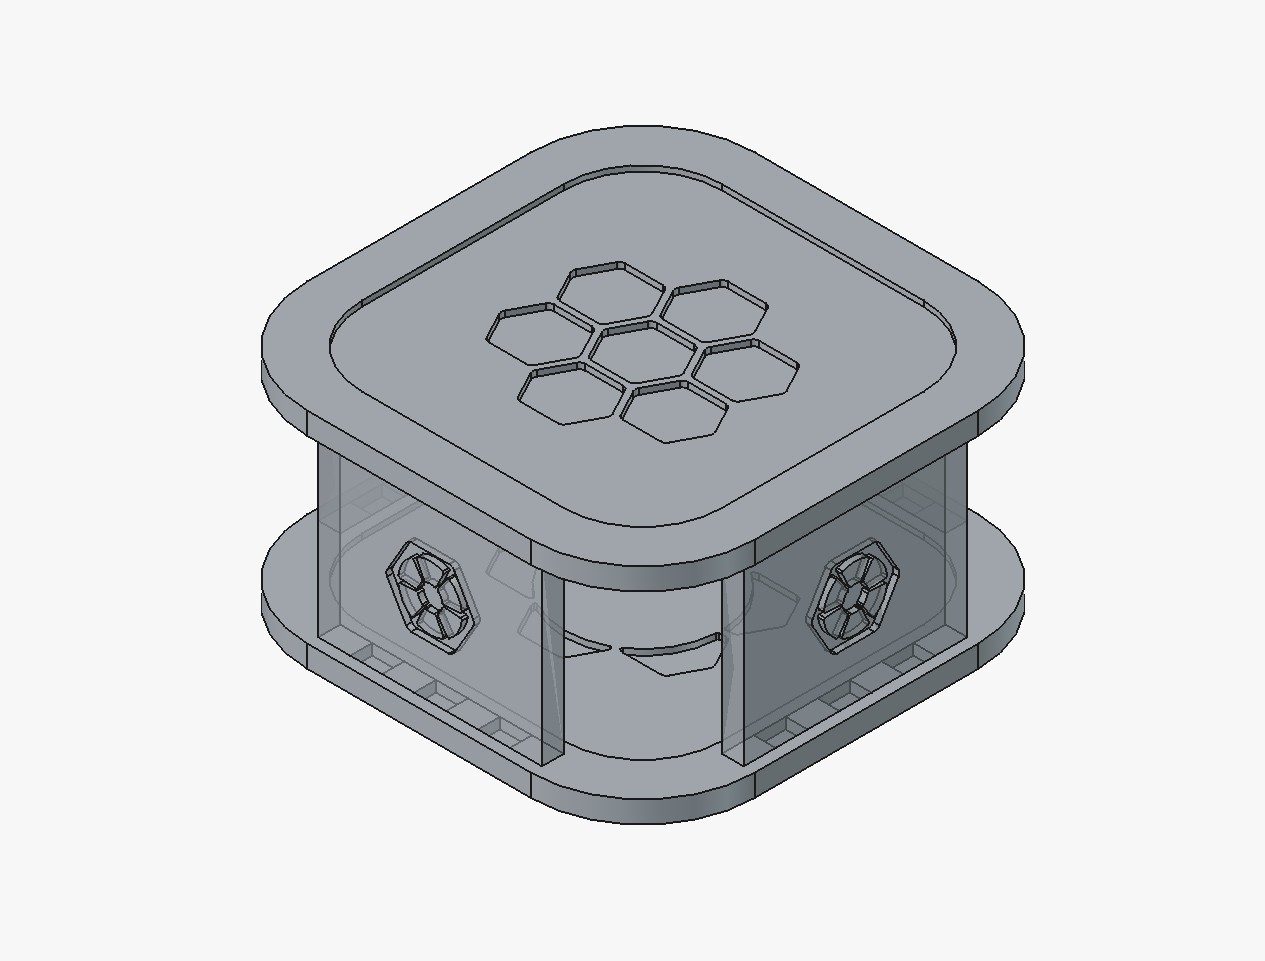
I fired up FreeCad and got to work on a design. Hexagonal patterns were the basic motif, while the altar would require a flat surface. I thought of a pillar-like approach, with four sides holding up the top while letting the interior peek out. Since there are inlays within inlays, I had to pay attention to the thickness of the material at the joints - I was afraid that if the inlays were too close to the edges they might cause structural instability.
I created on of the sides and cloned it to make it four, and then used the boolean operation to carve out the correct joint spaces from the top and bottom. I thought about making different designs for each "pillar", but I ran out of time. The finished design was then exported as SVGs via the TechDraw workbench. You can download the project file here.
MILLHOUSE
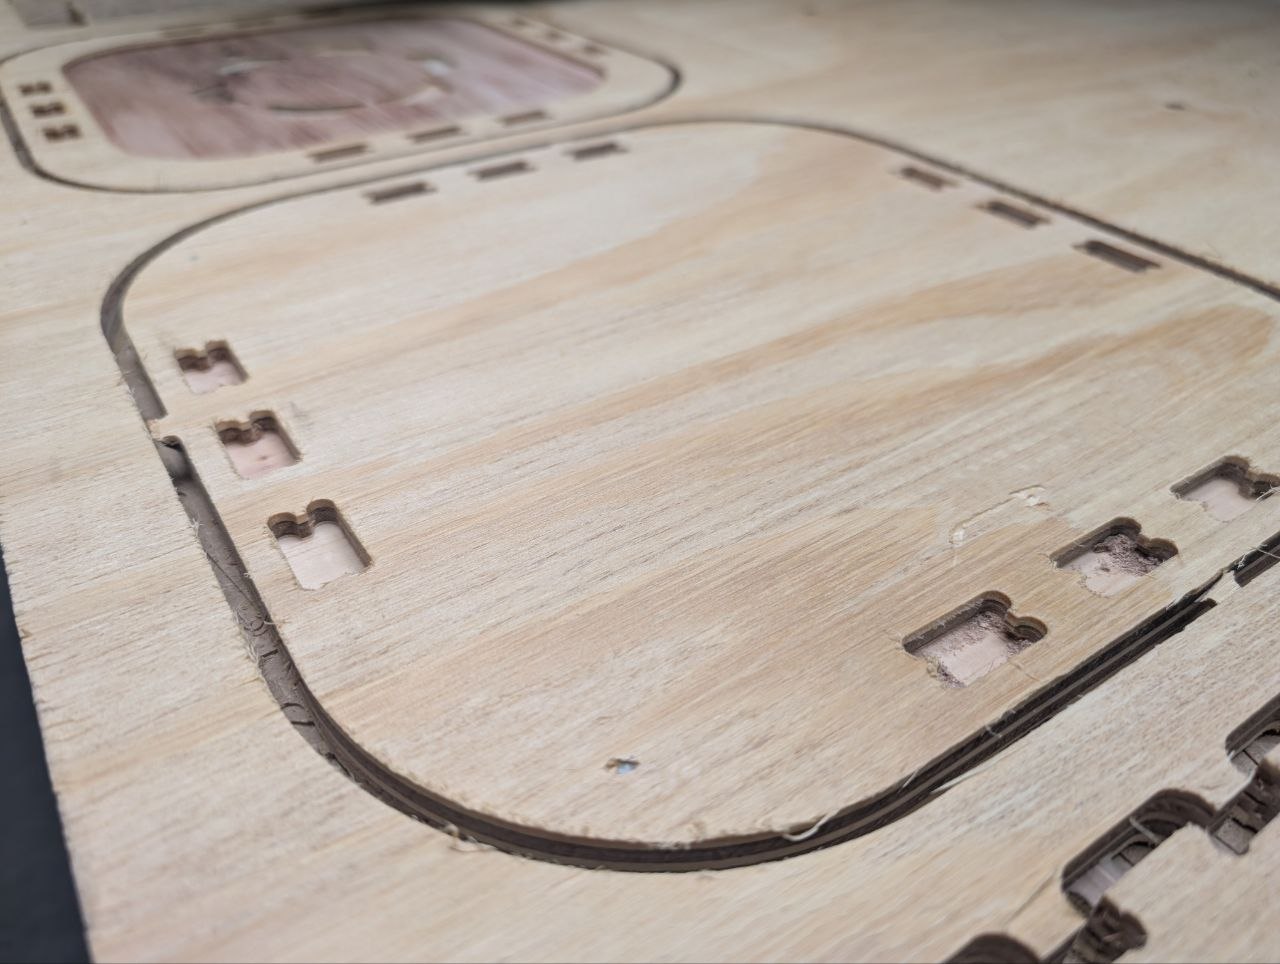
There are a lot of similarities between milling PCB's with small machines and milling wood with huge machines. You have to secure your material, assign the right tool with correct settings for your material, set up the paths in the CAM software along with your tabs, set the X/Y/Z origin, press play, watch after the process and remove your material (plus clean up).
The software was a lot more intuitive to use, especially with the 3D preview functions it's pretty hard to mess things up. An important thing to add is the fillets, as they ensure proper seating of the joints. Again the software makes this very easy.
The trickiest aspect of my design was the top, which had to milled on both sides. To do this I flipped the top over and fastened it down with the nailgun (as the tabs had to be cut). Before using the nailgun I placed some screws as buffers, putting one at each edge between the top and the rest of the board, to ensure the top was sitting at the relative center of its surroundings.
POST-PROCESSING
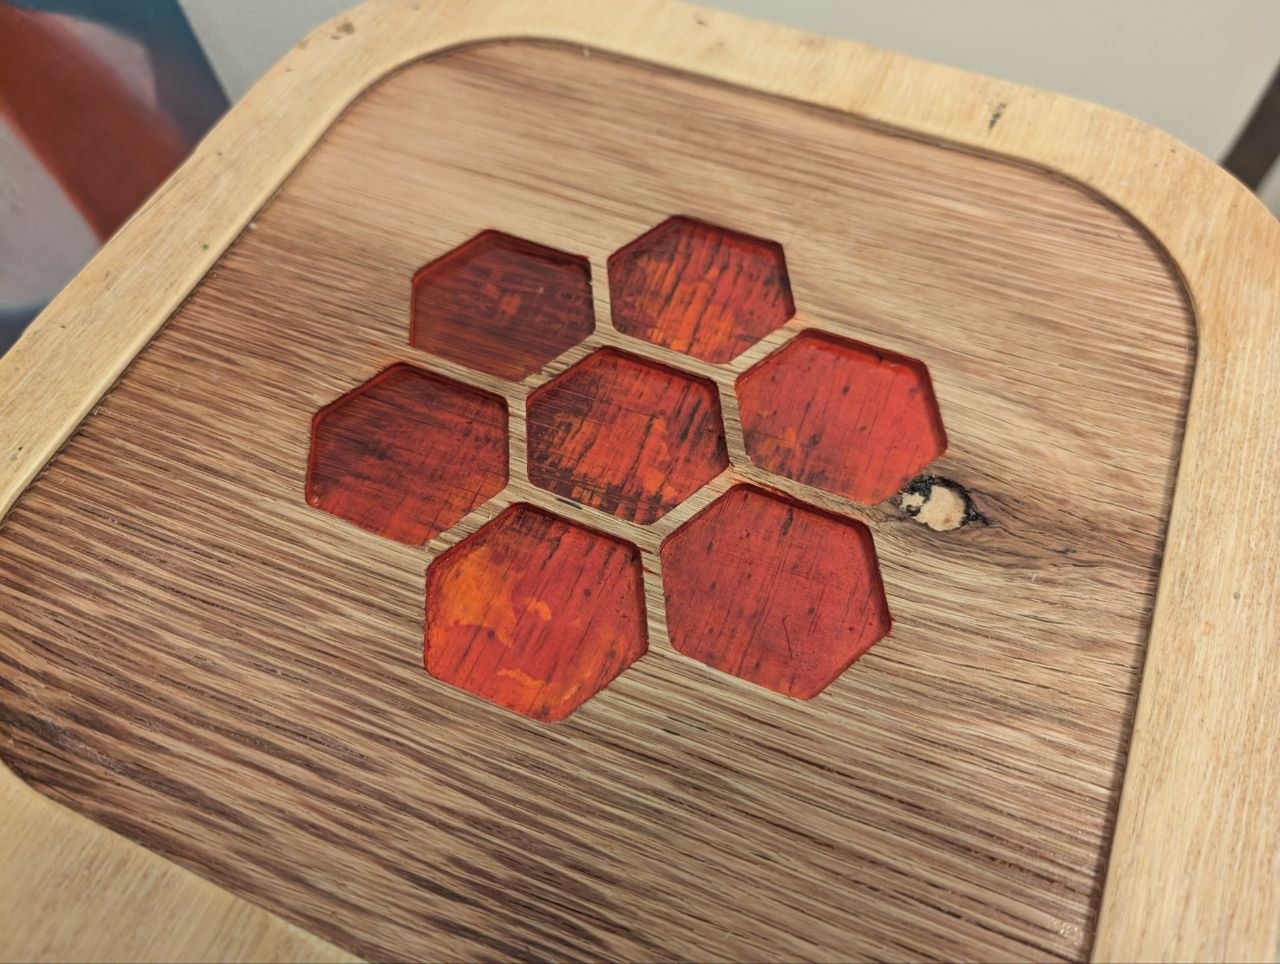
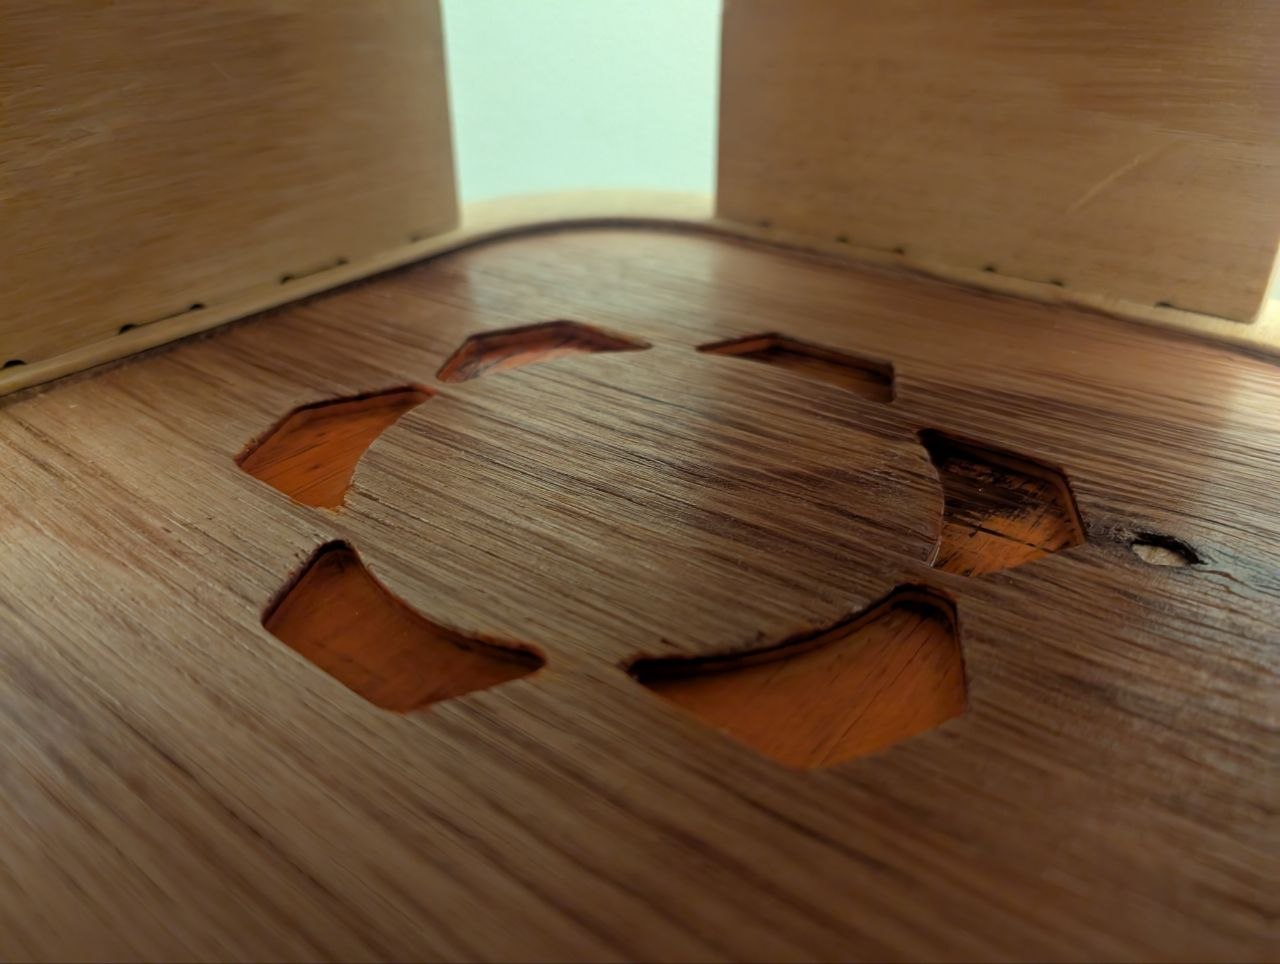
After removing the pieces I sanded them down. For some of the hard edges I got a nice beveling by just being rigorous with the sanding (although MDF is a bit unstable and it's easy to go overboard). I gave the pieces a glaze of shellac which I dissolved in isopropyl alcohol. My original idea was to fill the inlays with resin and I did give it a go. However, somehow, even after triple-checking which part of the resin was A and which was B, I mixed them up and got a sticky goop that never solified. Maybe I should have quadruple-checked. So I decided to color the inlays with alcohol ink instead. It looked better, so I guess it was a happy accident. The alcohol ink did sometimes seep through past the intended area, but I could remedy a bit with heavy use of cotton swabs.
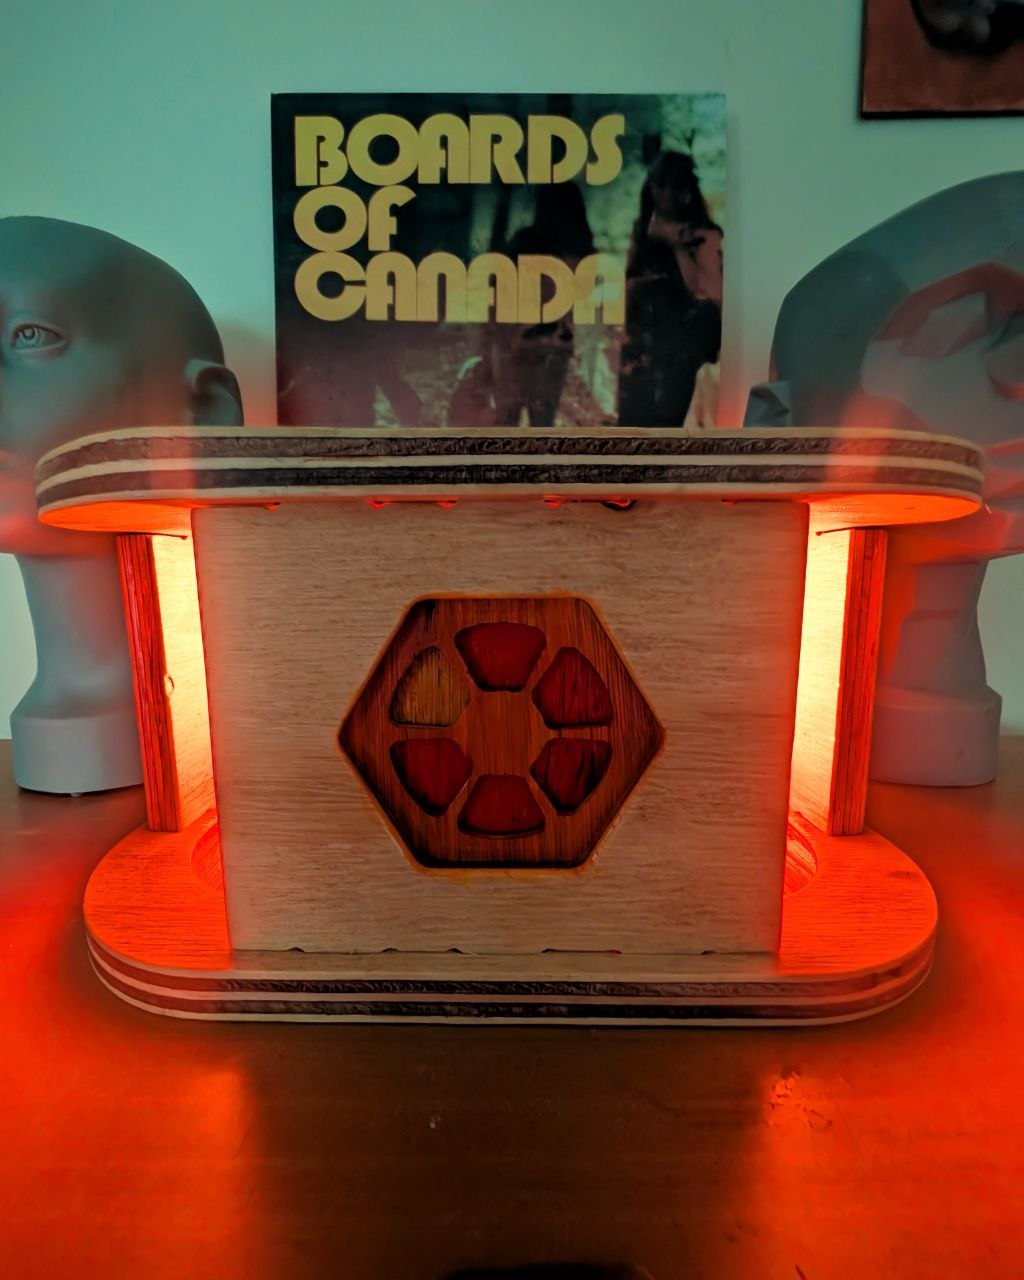
I really like how the different layers of the MDF board and their differing grain directions give a real depth to the altar. I had not planned this, so call it another happy accident!
To finish it up I put a microcontroller with an LED matrix inside the altar to cycle through some colors. I got it ready just in time for the new album. In the future I'd be interested in trying out different wood materials, as MDF does feel brittle and does look kind of cheap in certain circumstances. It seems really good for prototyping, though. Mostly I made some mistakes in post-processing, but they were nothing I couldn't overcome, and I would say that this is probably the most successful project I've made in the course (in terms of reaching the end result I had in mind).